


Custom Acrylic Printing Dubai: A Step-by-Step Guide to Planning Your Project
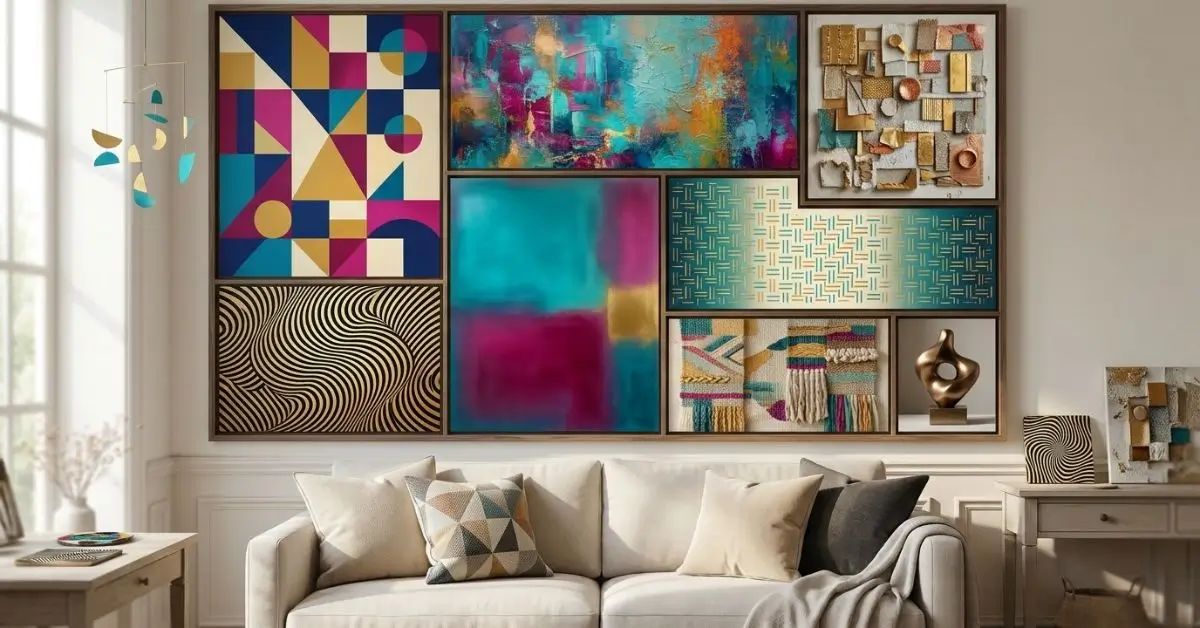
Most people don't order custom acrylic printing often. For many, it's a one-off project — a new office sign, a restaurant menu refresh, a retail display, or a piece of home décor. Because it's unfamiliar, the process can feel more complicated than it actually is.
The truth is that a successful project comes down to planning. If you make the right decisions at the right stages, the whole process runs smoothly. If you skip steps, problems surface later — usually after the piece has already been printed.
This guide walks through custom acrylic printing Dubai project planning from start to finish, stage by stage, so you know exactly what to do and when.
Stage 1: Define the Purpose
Before anything else, be clear about what the piece needs to achieve. Ask yourself:
-
Is it for branding, information, decoration, or wayfinding?
-
Who will see it, and from what distance?
-
How long should it last — a season, a few years, or longer?
-
Will it be indoors or outdoors?
These answers shape every decision that follows, from material thickness to mounting method. A short-lived event piece has very different requirements from a permanent reception sign.
Stage 2: Measure the Space
Accurate measurements prevent costly mistakes. Note the available width and height, but also consider:
-
Viewing distance — determines text size and design scale
-
Lighting — natural or artificial, and whether backlighting would help
-
Mounting surface — drywall, concrete, glass, or another material
-
Obstructions — sockets, switches, or fixtures that affect placement
If possible, take photographs of the space with a tape measure visible. This helps your provider recommend the right solution.
Stage 3: Set a Realistic Budget
Custom acrylic printing has several cost variables — size, thickness, design complexity, finish, and mounting. Rather than fixating on a single number, set a range and prioritize.
A practical approach is to invest most in the pieces that will be seen most often. A customer-facing reception sign or storefront display justifies more budget than a back-office door label.
Stage 4: Prepare Your Design Files
Design quality directly affects print quality. For the best results:
-
Use high-resolution files (vector formats are ideal)
-
Convert text to outlines to avoid font substitution issues
-
Use print-appropriate color settings
-
Keep fine details and thin lines to a printable minimum
If you don't have design files, many providers offer design support. This is often worth using, since they know exactly what prints well on acrylic.
Stage 5: Choose Material and Finish
This is where the look of the piece is decided. Key choices include:
Thickness — thin for small décor, thicker for signage and large displays.
Finish — clear, frosted, colored, or textured, depending on the setting and style.
Printing method — UV printing for sharp detail and durability.
Backlighting — optional, but worth planning early if desired, since it affects the design and mounting.
Discuss these with your provider rather than guessing. Their experience with similar projects is valuable.
Stage 6: Review the Proof Carefully
Before production begins, you'll receive a proof. This is the most important checkpoint in the entire process. Check:
-
Spelling and grammar
-
Dimensions and proportions
-
Colors against brand guidelines
-
Alignment and spacing
-
Placement of logos and key elements
Once printing starts, changes become expensive. Take your time with the proof.
Stage 7: Confirm Mounting and Installation
Decide how the piece will be fixed in place. Options include:
-
Standoffs — a modern, floating look
-
Frames — a more traditional finish
-
Flush mounting — a clean, seamless appearance
-
Backlighting — illuminated display
If professional installation is available, use it for larger or heavier pieces. Correct mounting protects both the piece and the people around it.
Stage 8: Plan for Delivery and Care
Confirm the delivery timeline and, if relevant, installation date. Then ask about care — usually a soft cloth and mild soap are all that's needed, but confirm before using any household cleaners.
Stage 9: Review the Finished Result
Once installed, check the piece against the approved proof. Confirm the finish, edges, and mounting all meet expectations. A reputable provider will address any issues at this stage.
Common Planning Mistakes to Avoid
-
Ordering before measuring properly
-
Skipping the proof or rushing it
-
Choosing thickness by guesswork rather than intended use
-
Forgetting to plan mounting until the last minute
-
Leaving too little time before a deadline
Each of these is easy to avoid with a little planning upfront.
Final Thoughts
Custom acrylic printing projects succeed or fail on the details decided before production begins. By following these stages — purpose, measurement, budget, design, material, proof, mounting, and review — you'll end up with a piece that looks right, lasts well, and matches what you originally imagined. Planning is the difference between a smooth project and an expensive lesson.
 Greek
 English
 Arabic
 French
 Spanish
 Portuguese
 Deutsch
 Turkish
 Dutch
 Italiano
 Russian
 Romaian
 Portuguese (Brazil)